


More on the plant sensor
#plant sensor
#groworld installation
#Camp Pixelache
#circuit diagram
#soldering
#surplus components
#Nik's original design

Description: The plan is to implement plant sensing technology for a Groworld installation at Camp Pixelache. The circuitry has been enhanced for durability through soldering. The circuit diagram's component values are influenced by available surplus and donated stock but are based on Nik's original design. The code reads data from an Arduino in Fluxus, featuring hastily written auto-calibration that records the highest and lowest values from each sensor, scaling the output between 0 and 1. This method may not be suitable for all situations. The program reads values from the Arduino via the serial port and provides them to the game. The implementation includes definitions for reading light and moisture sensor values, calibration, and updating sensor readings.
The schematic involves various components working together to facilitate plant monitoring. The Arduino microcontroller serves as the central processing unit, interfacing with light and moisture sensors. The light sensor measures ambient light levels, while the moisture sensor assesses soil moisture content. These sensors output analog signals that the Arduino reads through its analog input pins.
The calibration process is crucial for ensuring accurate readings. The initial step involves recording the highest and lowest values detected by each sensor. This establishes a dynamic range for each sensor, allowing the system to scale the output values between 0 and 1. The calibration function uses a formula to fit the raw sensor readings within the defined range, which is essential for interpreting the data accurately.
The code employs a serial communication protocol to transmit sensor data to an external application, allowing real-time monitoring and interaction. The program continuously checks for data from the sensors, updating the current readings and recalibrating as necessary. This ensures that fluctuations in environmental conditions are accounted for, providing reliable data for the Groworld installation.
In summary, the circuit design integrates robust hardware and software components to facilitate effective plant monitoring, ensuring that the Groworld installation at Camp Pixelache can thrive through informed environmental management.The plan is to have some plant sensing working for a groworld installation we are doing at Camp Pixelache so I`ve made the circuitry a little more durable with a bit of soldering: Here`s the circuit diagram the values of components are influenced by what I happen to have in my collection of surplus/donated stock but are based on Nik`s original circuit: This is the code that reads the arduino in fluxus. It contains some hastily written auto calibration, which records the highest and lowest values received from each sensor and scales the output between 0 and 1 using these values. This isn`t necessarily the right thing to do in all situations. ; p l a n t e y e s [ copyright (c) 2010 foam vzw : gpl v3 ] #lang scheme/base ; read values from arduino on the serial port, and hand them out to the game (provide (all-defined-out) (define serial (open-input-file "/dev/ttyUSB0") ;(define serial #f) (define current-raw `(0 0) (define light-range `(999999 0) (define moisture-range `(9999999 0) (define current-cali `(0 0) ; return the raw sensor values (define (sensor-light) (car current-raw) (define (sensor-moisture) (cadr current-raw) ; return the calibrated sensor values (define (sensor-cali-light) (car current-cali) (define (sensor-cali-moisture) (cadr current-cali) (define (fit a l h) (if (zero (- h l) 0 (exact->inexact (/ (- a l) (- h l) (define (sensor-update) (when (and serial (char-ready serial) (set!
current-raw (sensor-process (read-line serial) ; some auto calibration (set! light-range (list (if (< (sensor-light) (car light-range) (sensor-light) (car light-range) (if (> (sensor-light) (cadr light-range) (sensor-light) (cadr light-range) (set! moisture-range (list (if (< (sensor-moisture) (car moisture-range) (sensor-moisture) (car moisture-range) (if (> (sensor-moisture) (cadr moisture-range) (sensor-moisture) (cadr moisture-range) (set!
current-cali (list (fit (sensor-light) (car light-range) (cadr light-range) (fit (sensor-moisture) (car moisture-range) (cadr moisture-range) (printf "current-cali ~a~n" current-cali) (printf "ranges ~a ~a~n" light-range moisture-range) (define (convert n) (string->number n) (define (sensor-process str) (let ([data (regexp-split #rx", " str)]) (list (convert (list-ref data 0) (convert (list-ref data 1)
The schematic involves various components working together to facilitate plant monitoring. The Arduino microcontroller serves as the central processing unit, interfacing with light and moisture sensors. The light sensor measures ambient light levels, while the moisture sensor assesses soil moisture content. These sensors output analog signals that the Arduino reads through its analog input pins.
The calibration process is crucial for ensuring accurate readings. The initial step involves recording the highest and lowest values detected by each sensor. This establishes a dynamic range for each sensor, allowing the system to scale the output values between 0 and 1. The calibration function uses a formula to fit the raw sensor readings within the defined range, which is essential for interpreting the data accurately.
The code employs a serial communication protocol to transmit sensor data to an external application, allowing real-time monitoring and interaction. The program continuously checks for data from the sensors, updating the current readings and recalibrating as necessary. This ensures that fluctuations in environmental conditions are accounted for, providing reliable data for the Groworld installation.
In summary, the circuit design integrates robust hardware and software components to facilitate effective plant monitoring, ensuring that the Groworld installation at Camp Pixelache can thrive through informed environmental management.The plan is to have some plant sensing working for a groworld installation we are doing at Camp Pixelache so I`ve made the circuitry a little more durable with a bit of soldering: Here`s the circuit diagram the values of components are influenced by what I happen to have in my collection of surplus/donated stock but are based on Nik`s original circuit: This is the code that reads the arduino in fluxus. It contains some hastily written auto calibration, which records the highest and lowest values received from each sensor and scales the output between 0 and 1 using these values. This isn`t necessarily the right thing to do in all situations. ; p l a n t e y e s [ copyright (c) 2010 foam vzw : gpl v3 ] #lang scheme/base ; read values from arduino on the serial port, and hand them out to the game (provide (all-defined-out) (define serial (open-input-file "/dev/ttyUSB0") ;(define serial #f) (define current-raw `(0 0) (define light-range `(999999 0) (define moisture-range `(9999999 0) (define current-cali `(0 0) ; return the raw sensor values (define (sensor-light) (car current-raw) (define (sensor-moisture) (cadr current-raw) ; return the calibrated sensor values (define (sensor-cali-light) (car current-cali) (define (sensor-cali-moisture) (cadr current-cali) (define (fit a l h) (if (zero (- h l) 0 (exact->inexact (/ (- a l) (- h l) (define (sensor-update) (when (and serial (char-ready serial) (set!
current-raw (sensor-process (read-line serial) ; some auto calibration (set! light-range (list (if (< (sensor-light) (car light-range) (sensor-light) (car light-range) (if (> (sensor-light) (cadr light-range) (sensor-light) (cadr light-range) (set! moisture-range (list (if (< (sensor-moisture) (car moisture-range) (sensor-moisture) (car moisture-range) (if (> (sensor-moisture) (cadr moisture-range) (sensor-moisture) (cadr moisture-range) (set!
current-cali (list (fit (sensor-light) (car light-range) (cadr light-range) (fit (sensor-moisture) (car moisture-range) (cadr moisture-range) (printf "current-cali ~a~n" current-cali) (printf "ranges ~a ~a~n" light-range moisture-range) (define (convert n) (string->number n) (define (sensor-process str) (let ([data (regexp-split #rx", " str)]) (list (convert (list-ref data 0) (convert (list-ref data 1)
resistance soldering circuitry
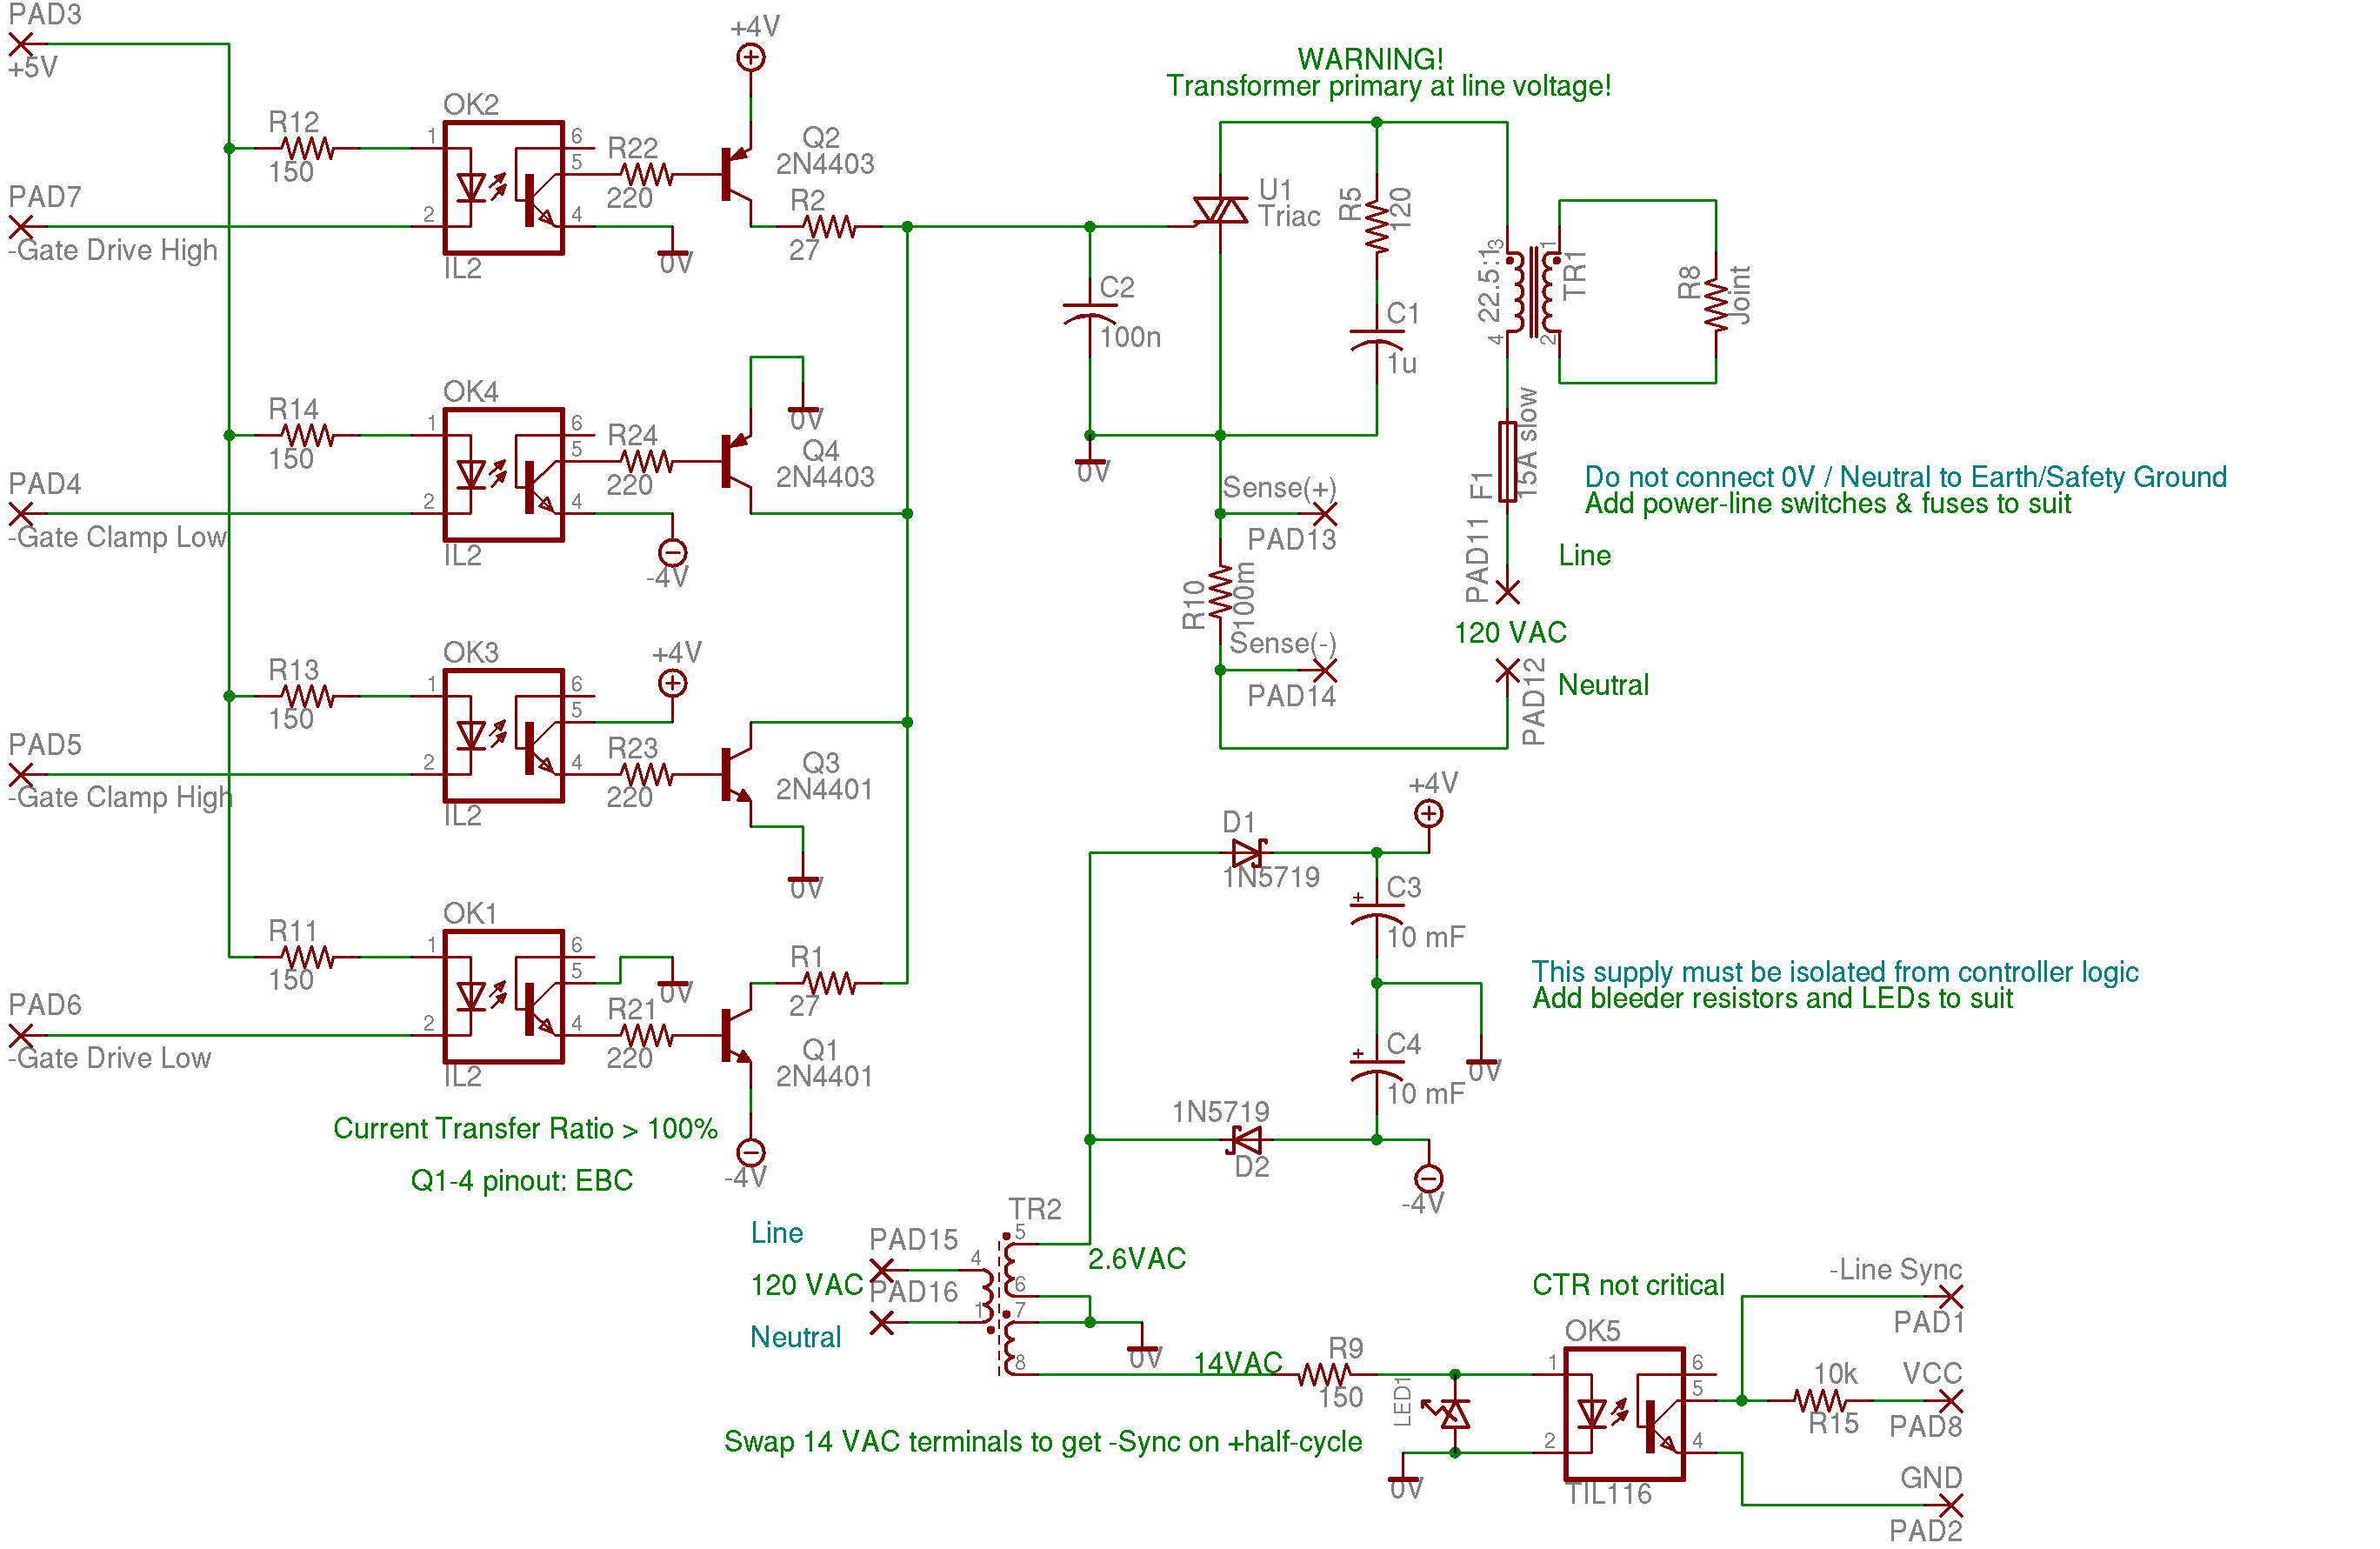
None of this triggering circuitry is exactly what is desired, but it will provide a starting point in the right direction.
The triggering circuitry mentioned serves as a foundational element for various electronic applications, particularly in the realm of signal processing...
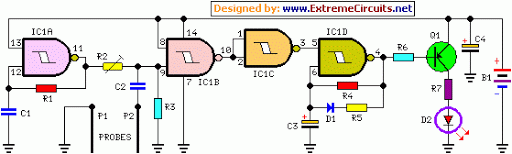
Plant Watering Watcher Circuit Schematic
A flashing LED indicates the need to water a plant in a 3V powered circuit. This circuit is designed to signal when a plant requires water. A LED flashes at a specified interval.
This circuit operates on a 3V power supply,...

Soldering Iron Tip Preserver
Although 60/40 solder melts at approximately 200°C, the tip temperature of a soldering iron should be maintained at around 370°C. This high temperature is essential for creating a good, quick joint without risking damage to delicate components, as prolonged contact...